In our previous “How To” blog post, we outlined the process a student must go through to secure an I-20 form from their DSO. Following this process, the student’s next step is to fill out a DS-160 application. Within this application, every travelling student must provide some basic information to be kept on file digitally. There is a common misconception that the DS-160 application process is a difficult one, and that it’s better for the students themselves to not be involved in the submission process. We at Optimus believe that this is a basic process that any student can easily undertake on their own by following these basic steps.
In a nutshell, the DS-160 is comprised of your basic information, some information on the type of visa you are interested in, and some basic questions about you personally. Some organizations may try to persuade you to let them handle the process of submitting your DS-160, but it is strongly recommended that you complete this process yourself. To begin, be sure to have your school issued I-20 form, your passport, and your SEVIS fee receipt at the ready. In addition, your parent’s dates of birth, basic information on your previous visits to the states (if any), information on any relatives that live in the US, and two trustworthy references will all be things you will need as well. With all of this information, you’ll be ready to begin.
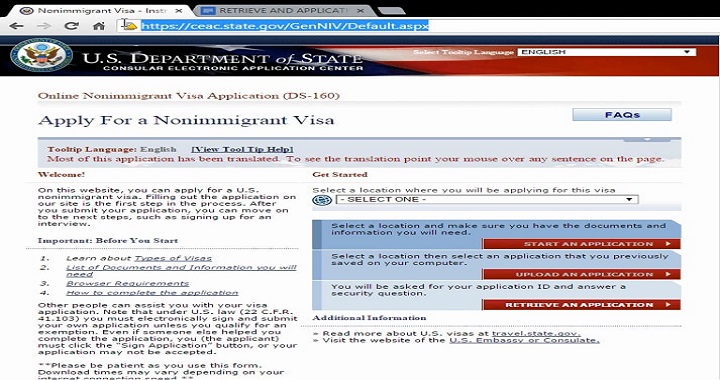
To begin, visit this government website: https://ceac.state.gov/genniv/
1. Select the embassy where you will be applying for your visa. While you may select any embassy from the list, picking any embassy other than the one that is closest to you can seem suspicious.
2. At this time, you have the option to upload a photo of yourself. There is another chance to do this later; the purpose of uploading the photo now is to allow the website to confirm that the format of the photo is correct. Generally, the photo should be a straight on shot from the shoulders up, with a plain white background and nothing covering your face (in some cases, items such as headdresses can still be worn in the photo). Select “continue with photo” or “start new application.”
3. Select a security question and record it somewhere safe. This will be important in retrieving your information later should you forget the details.
4. An application ID number will generate at this time on the right side of your screen. Record this number as it too will be important to have at a later time to retrieve your DS-160 form.
5. You will now put all of the previously mentioned information to use by filling out the actual DS-160 form. As you fill it in, you can periodically save your application to ensure that you do not have to re-enter information should anything go wrong in the process.
6. Once you have completely filled out the DS-160, you will need to digitally sign it by entering some of your basic passport information.
7. Finally, print a copy of your filled out form.
We hope that this basic breakdown of the DS-160 filing process shows you that it is a process that is well within the capabilities of most travelling students. Whether travelling to the Orange County area, or to somewhere else across the US, we would like to instill confidence in all foreign language students that this process is one they can tackle on their own. Check back soon for Optimus Language School’s next “How to” blog!
Tagged:
Published on January 16, 2017
A leading English language school accredited by the CEA (Commission on English Language Accreditation) and approved by SEVP (Student and Exchange Visitor Program) located in Los Angeles, California. Learn English in LA with our ESL classes, TOEFL preparation, and English speaking classes. Are you serious about improving your English? Join a class today!© 2024 American English Language School